
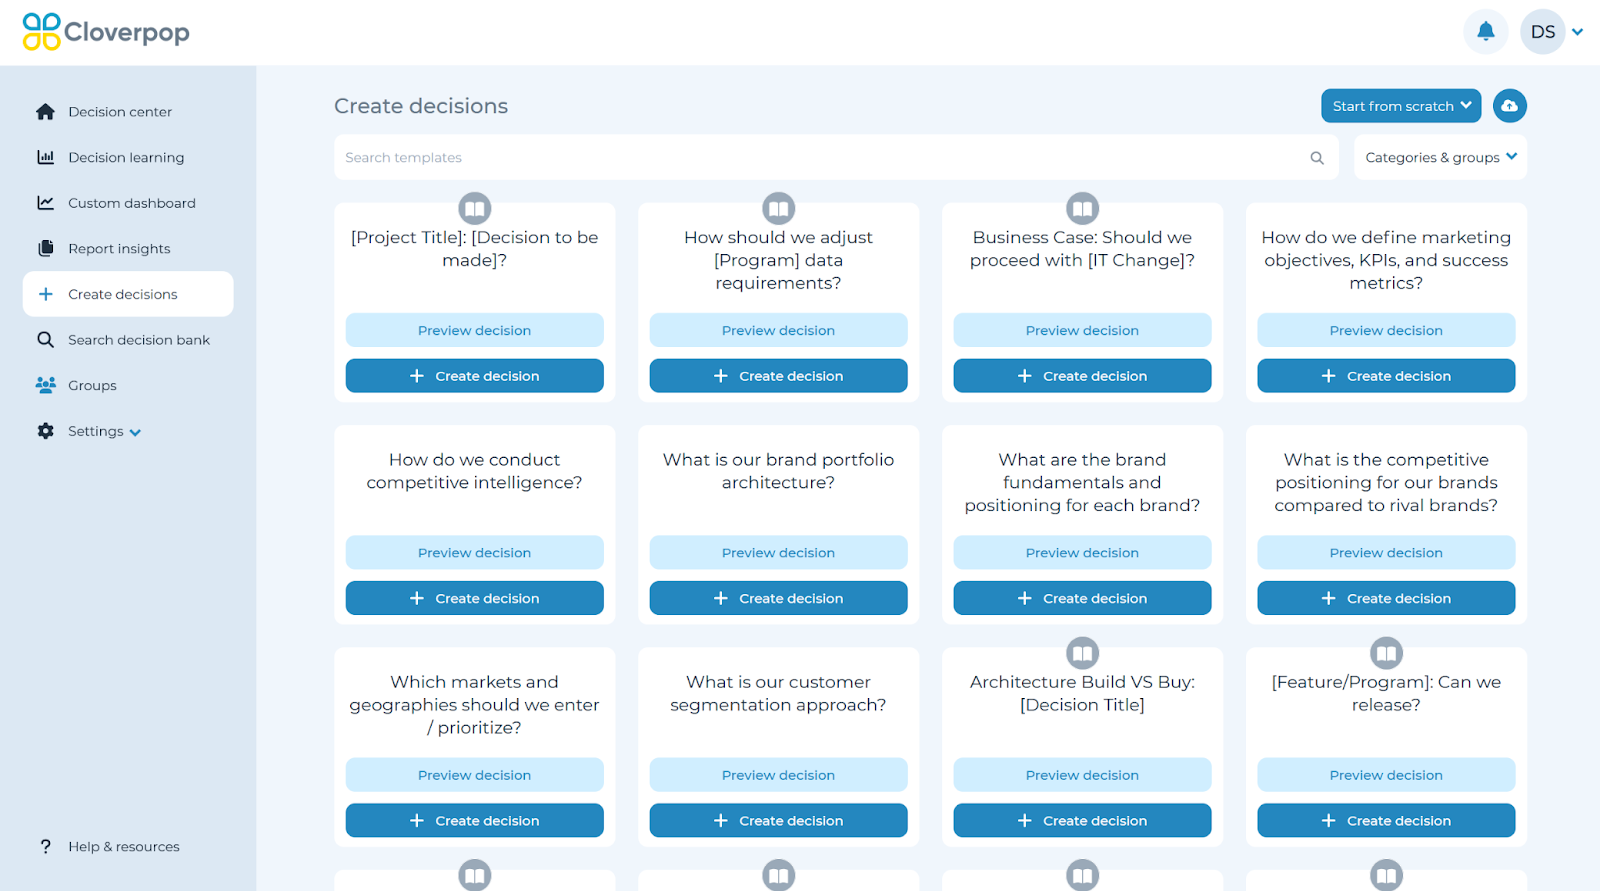
To create a decision, click ‘Create a decision' in the left panel.
You will be presented with a list of templates. Templates simplify the process of creating a new decision / recommendation. They provide a standardized structure for common decisions made in Cloverpop for your organization.
To determine which template best fits your need, you can select ‘Preview decision’ to view the template structure.
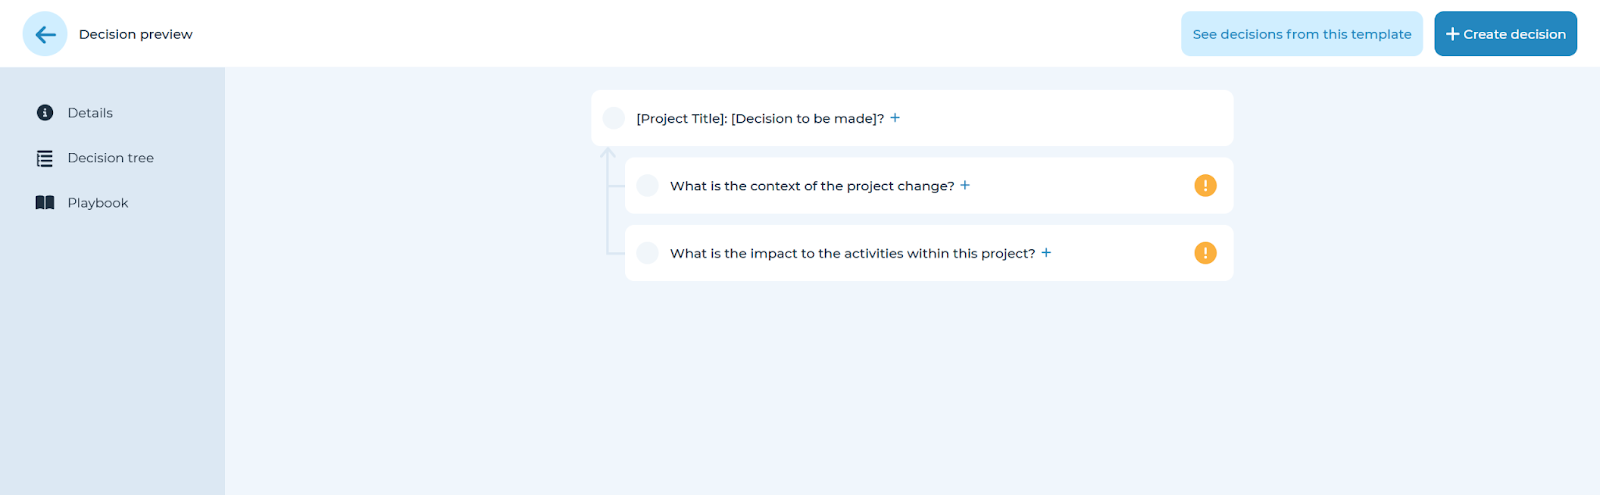
You can view previous decisions made with the selected template by selecting ‘See decisions from this template’. Once you have identified the template that best meets your needs, select ‘Create decision’ on the chosen template.
The decision will immediately be created and added to your decision center.
If your use case does not have a template, you can create a decision from scratch as outlined below, or reach out to your Cloverpop Decision Success Manager for support.
Create a decision from template
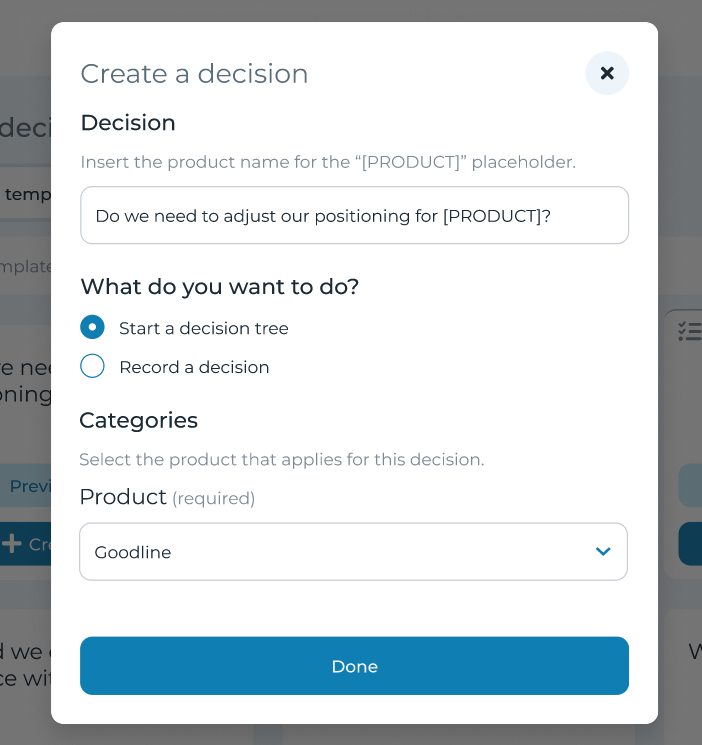
In the pop-up, adjust the title of your specific decision. Then, select whether you are starting an active decision or recording a historic decision.
Some templates may have default categories (e.g., functions, channel) to tag your decision. If there are no categories in this window, you can tag decision categories after you complete the set-up wizard. These category tags can be used to filter on decisions within the decision bank.
Create a decision from scratch
If your use case does not have a premade template, you can create a decision from scratch.
To create a decision from scratch, select the ‘Create a decision’ from the ‘Start from scratch’ dropdown to begin.
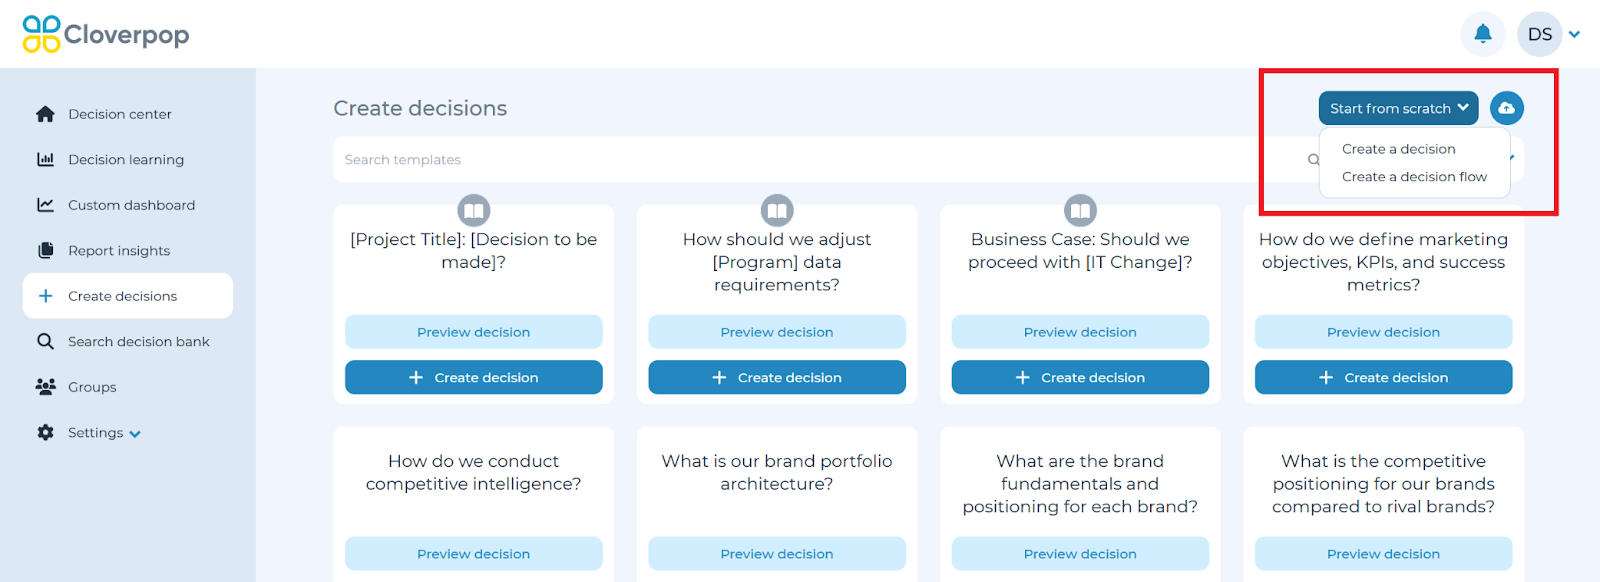
In the pop-up, enter your decision title and select ‘Start a decision tree’ for active decisions and select ‘Record a decision’ for historic decisions.
To continue the Create a Decision process, please refer to the next section of the user guide: Step 1: Decision Tree.
If you are looking to enter Record a Decision, refer to the Record a Decision section.