
Note: ALL decision flow collaborators are able to add, remove, or sort decisions and add, remove, or sort sections. All other actions detailed in this section of the user manual are available only to the decision flow manager. You may find who has decision manager rights by clicking ‘Details’ on the left side navigation menu of the decision flow.
Add, remove, or sort decisions
Once your decision flow has been started, select the ‘Decision flow’ button from the left-hand menu to open a panel.
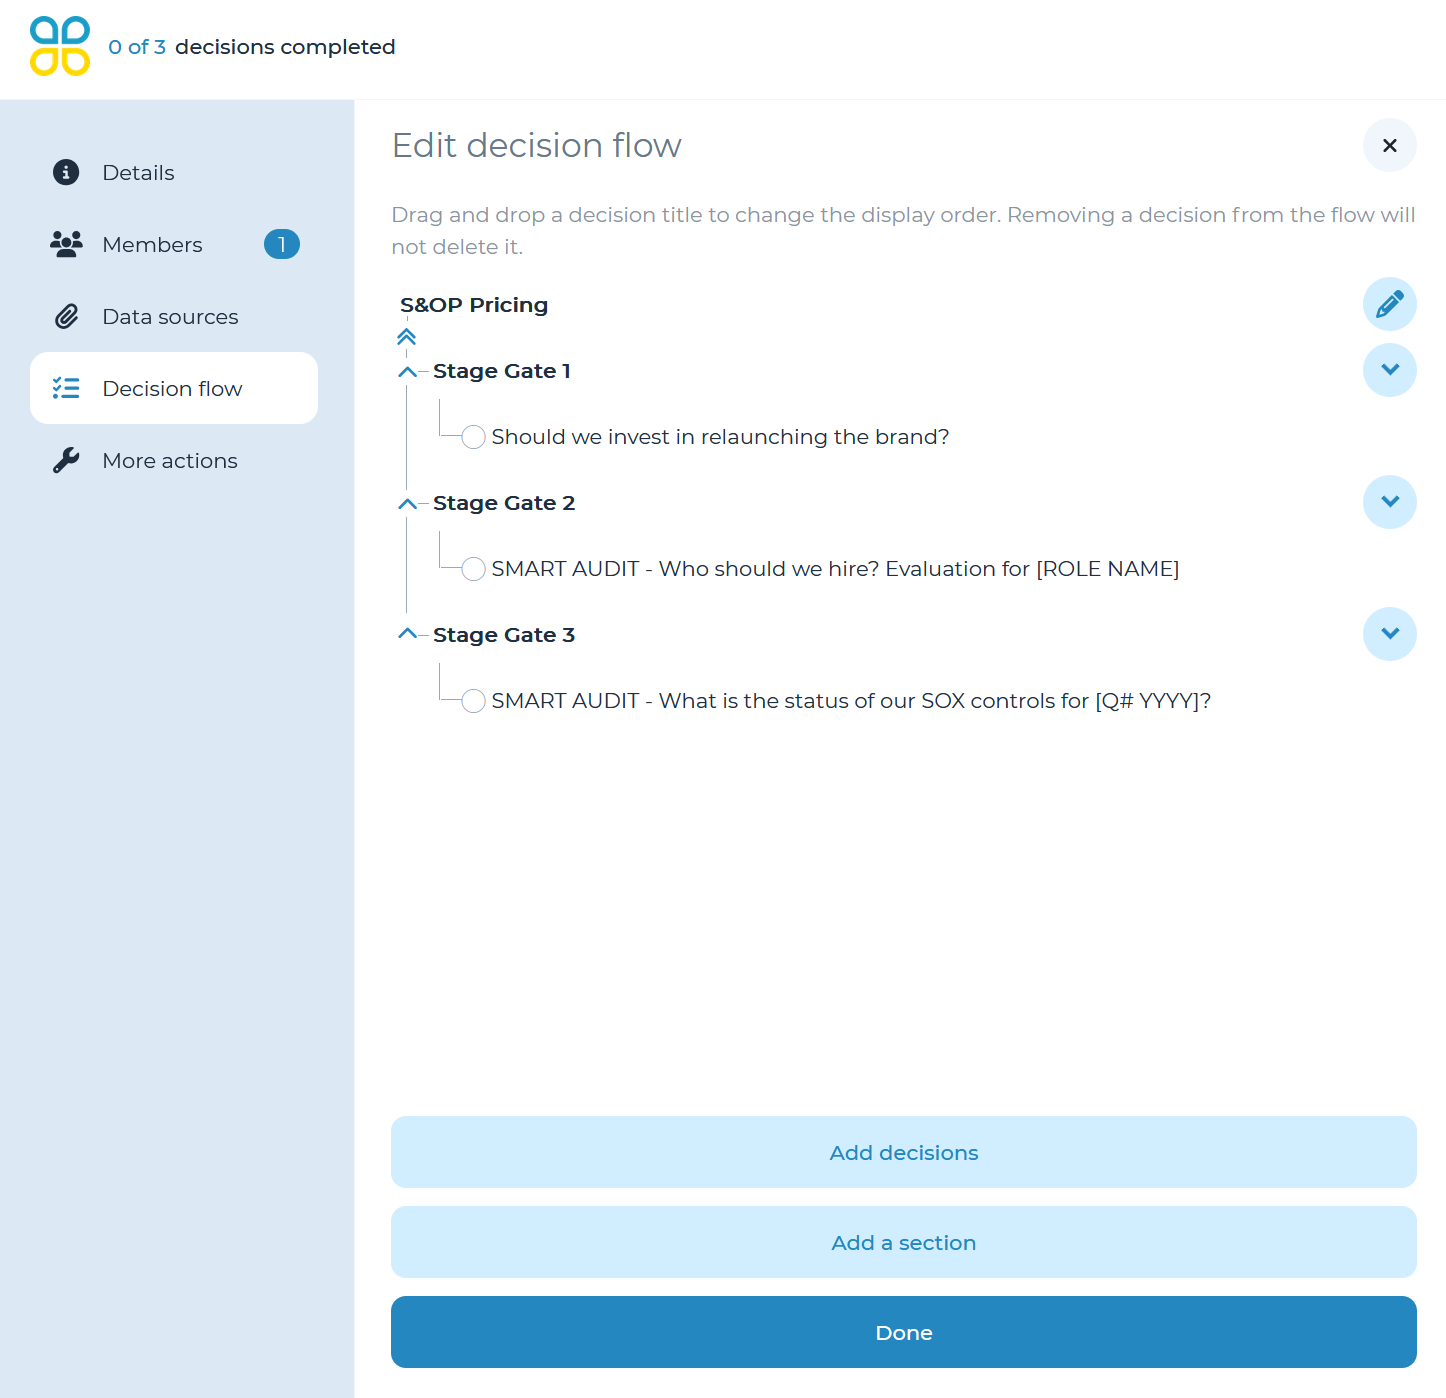
Then select the pencil icon in the top right corner of the panel to edit the flow.. To add a decision, click ‘Add decisions’ at the bottom of the window or use the arrow drop down to add a decision to a specific section.
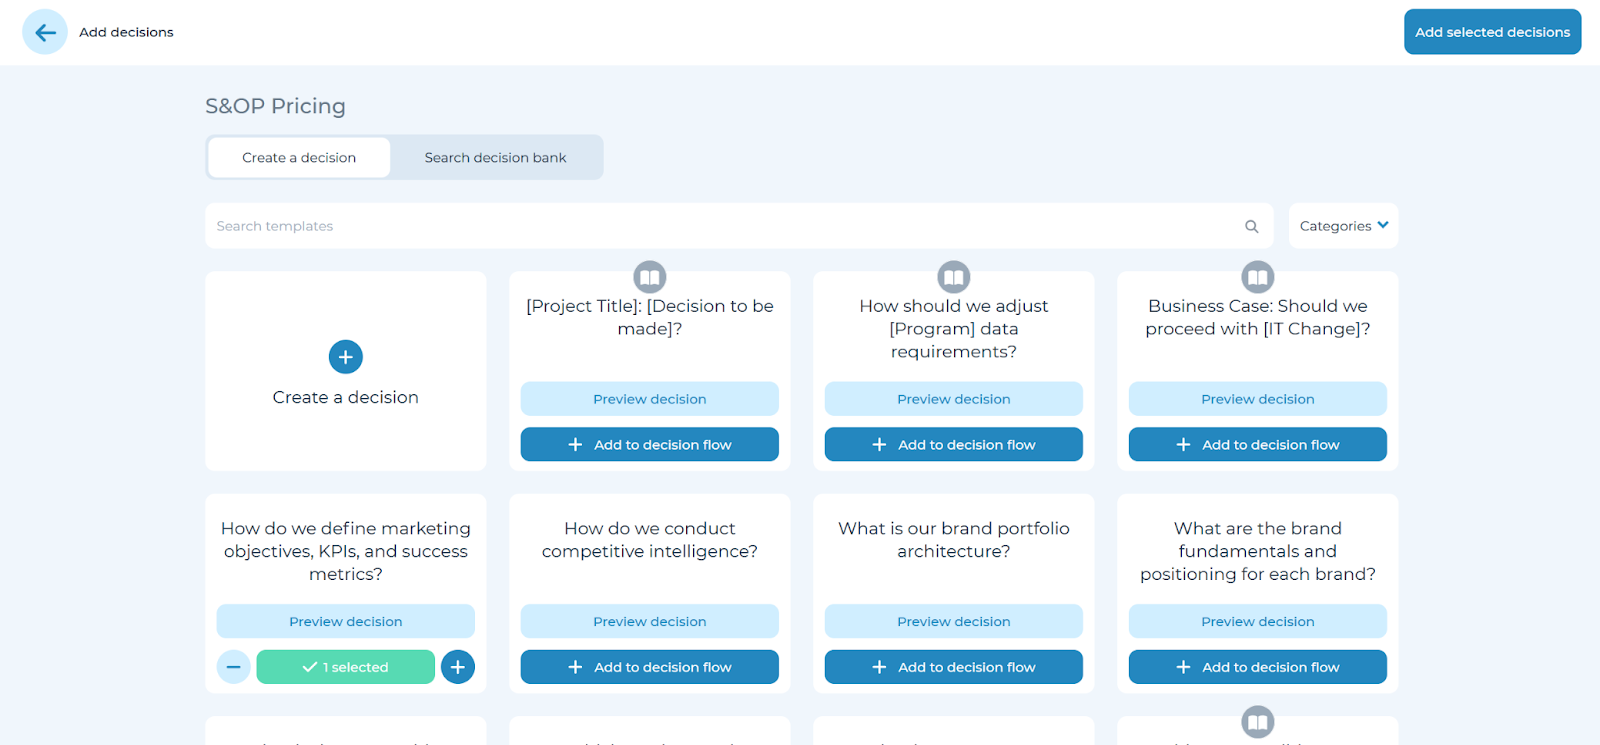
After choosing to add a new decision, you will be presented with a page where you can create a new decision or select a template to add. You can add multiple copies of one decision template by increasing or decreasing the amount with the ‘+’ and ‘-’ symbols. After selecting all decisions you want to add, click the ‘Add selected decisions’ button in the top right corner.
To remove a decision, click the red ‘X’ button to the right of an existing decision.
To move decisions around, drag and drop the decision titles to change the display order.
Add, remove, or sort sections
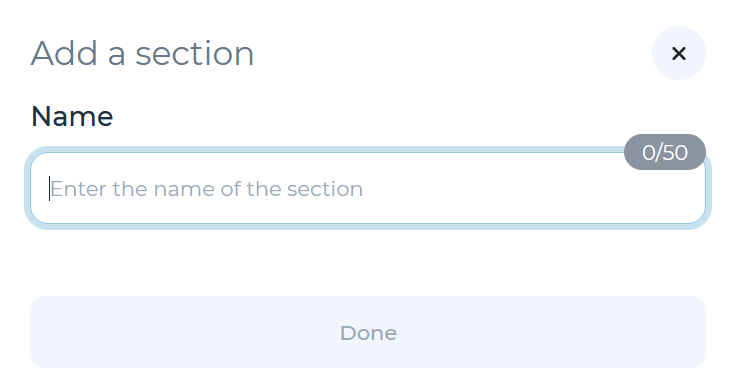
To add a new section, simply select ‘Add a section’ and input the title. Sections can be moved using the arrows which appear when hovering over their titles, and moving a section will move all decisions within the section as well.
To remove a section, open the dropdown arrow next to that section and select ‘Ungroup section.’ This will not delete any decisions within the section, instead leaving them within the higher level section.
Decision Sequence
Click the ‘More actions’ button on the left-side navigation panel to access Decision sequence options for a decision flow.

Decision sequences help team members to understand the groups of decisions made to support a broader objective or decision.
You have three options to assign a numeric sequence to the decisions within a flow:
- No numbers: Decisions appear in the order which they are sorted, but there are no labels to indicate their placement within the decision flow
- Number all: Decisions appears in the order in which they are sorted, and they are numbered to indicate their placement within the overall decision flow (e.g., the third decision overall, is labeled as #3)
- Number per section: Decisions appear in the order in which they are sorted, and they are numbered to indicate their placement within their respective sections of the decision flow (e.g., third decision overall, is labeled as #1 if it is the first decision in section two)
Refer to the Add data sources portion of the user manual to link or upload data sources at the decision flow level.
Change decision flow manager
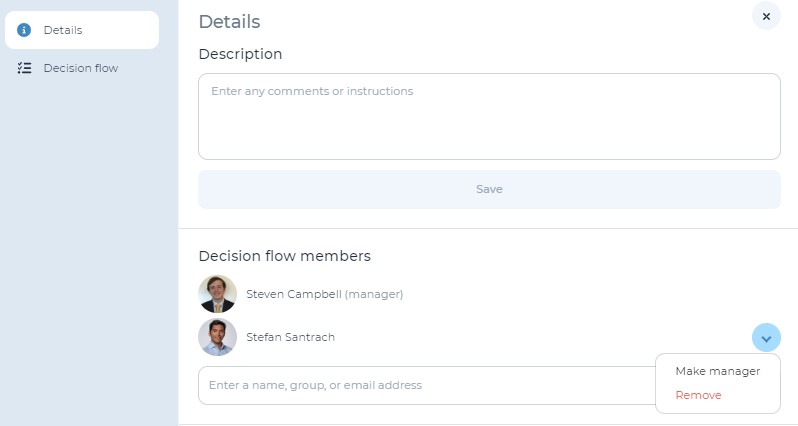
To change the decision flow manager, click ‘Members’ on the left side navigation menu. Next, click the down arrow icon next to the person you would like to assign the decision flow to and select ‘Make manager.’
Assign unstarted decisions
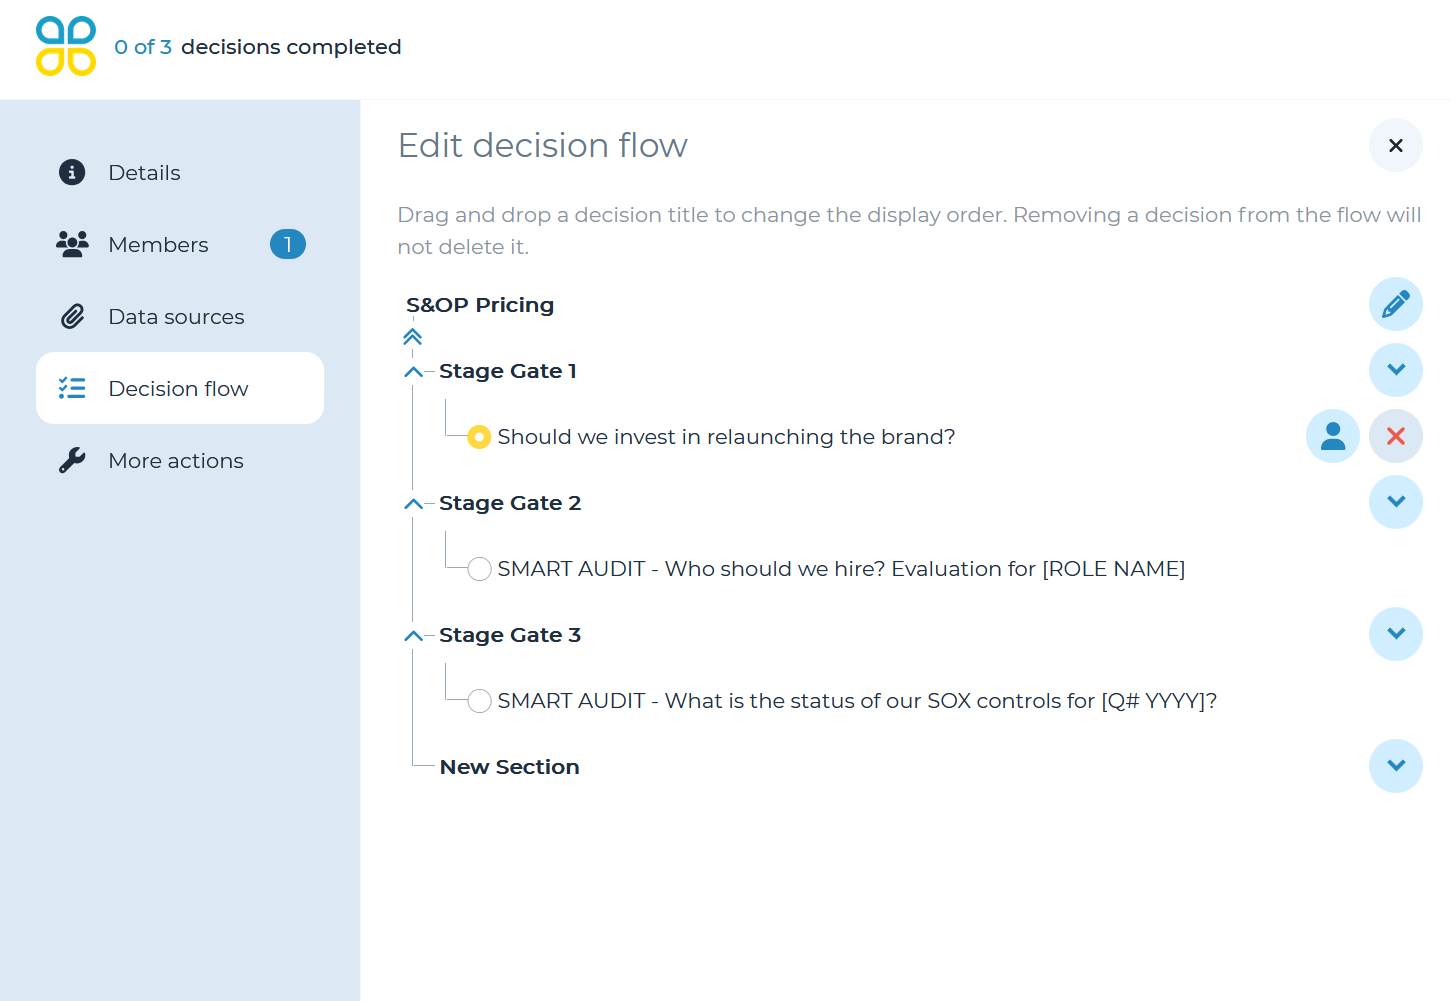
Click on ‘Decision flow’ in the left menu to open the edit decision flow panel. Click on the pencil icon to edit the flow and hover over the decision you wish to assign. Click on the person button which appears to open a popup where you can assign the decision using a name or email address.
Edit decision flow name
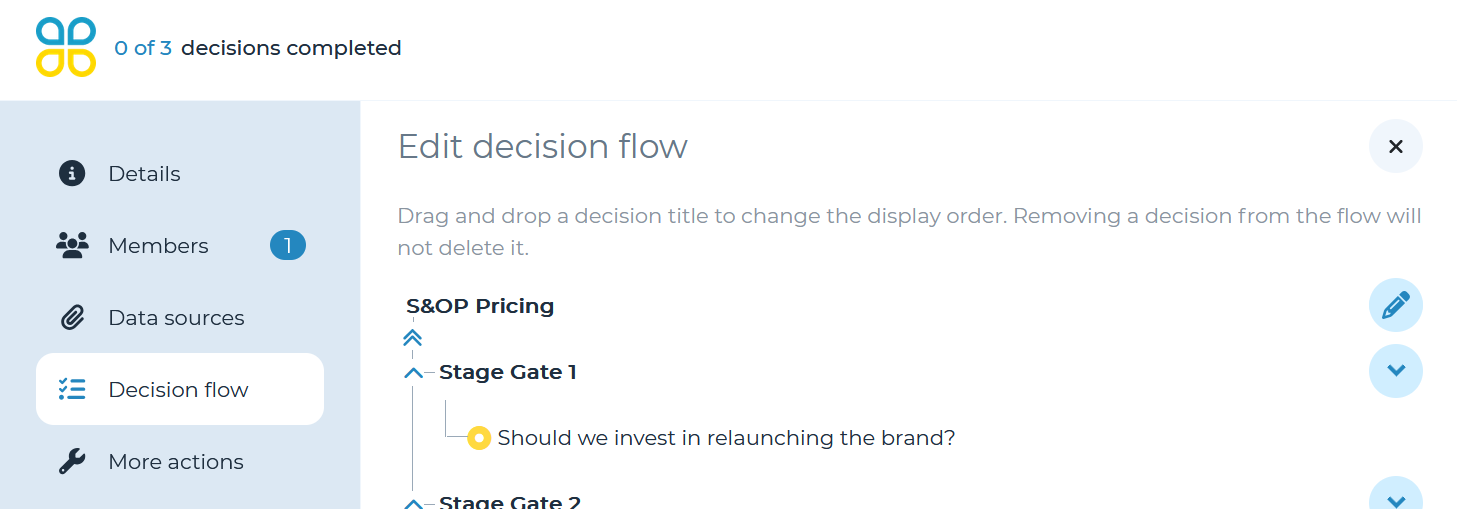
Click on ‘Decision flow’ in the left menu to open the edit decision flow panel. Click on the pencil icon to edit the flow, then click on the pencil icon next to the current name of the flow. Type the new desired flow name in the popup and click ‘Done’ once you are finished.
Create a flow summary
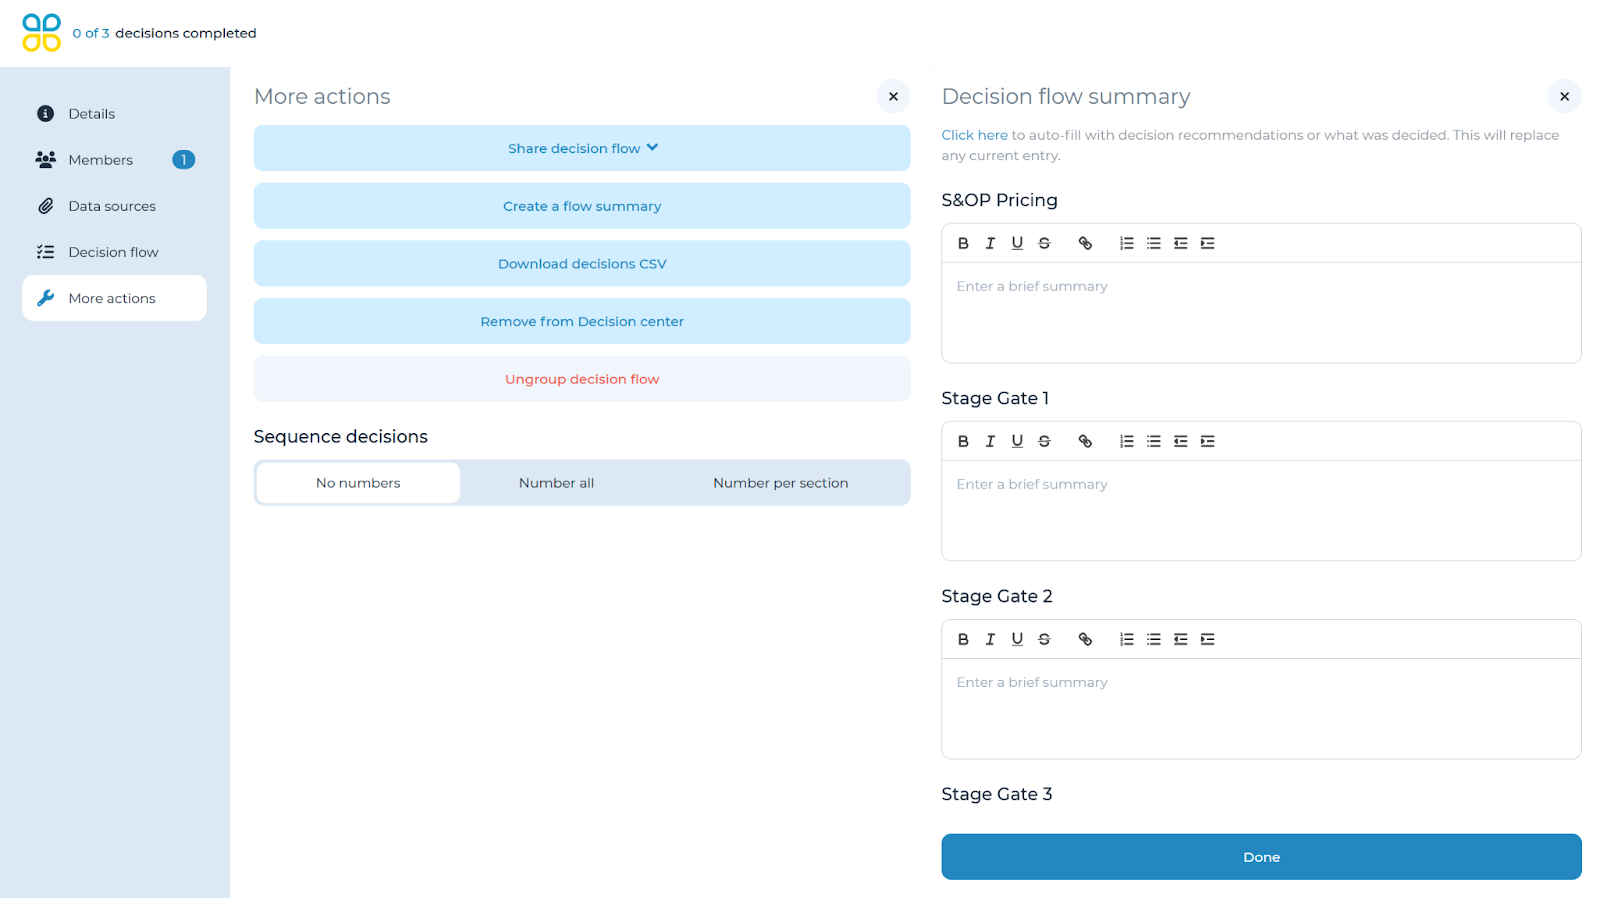
Click the ‘More actions’ button in the left menu, and select ‘Create a flow summary’ from the panel which opens. This allows a centralized place to summarize the outcome of the decision flow. You have the option to auto-fill recommendations and decisions that have been completed in each section of the decision flow at the top of the right summary panel. Click ‘Done’ to create the decision flow summary.
Ungroup decision flow
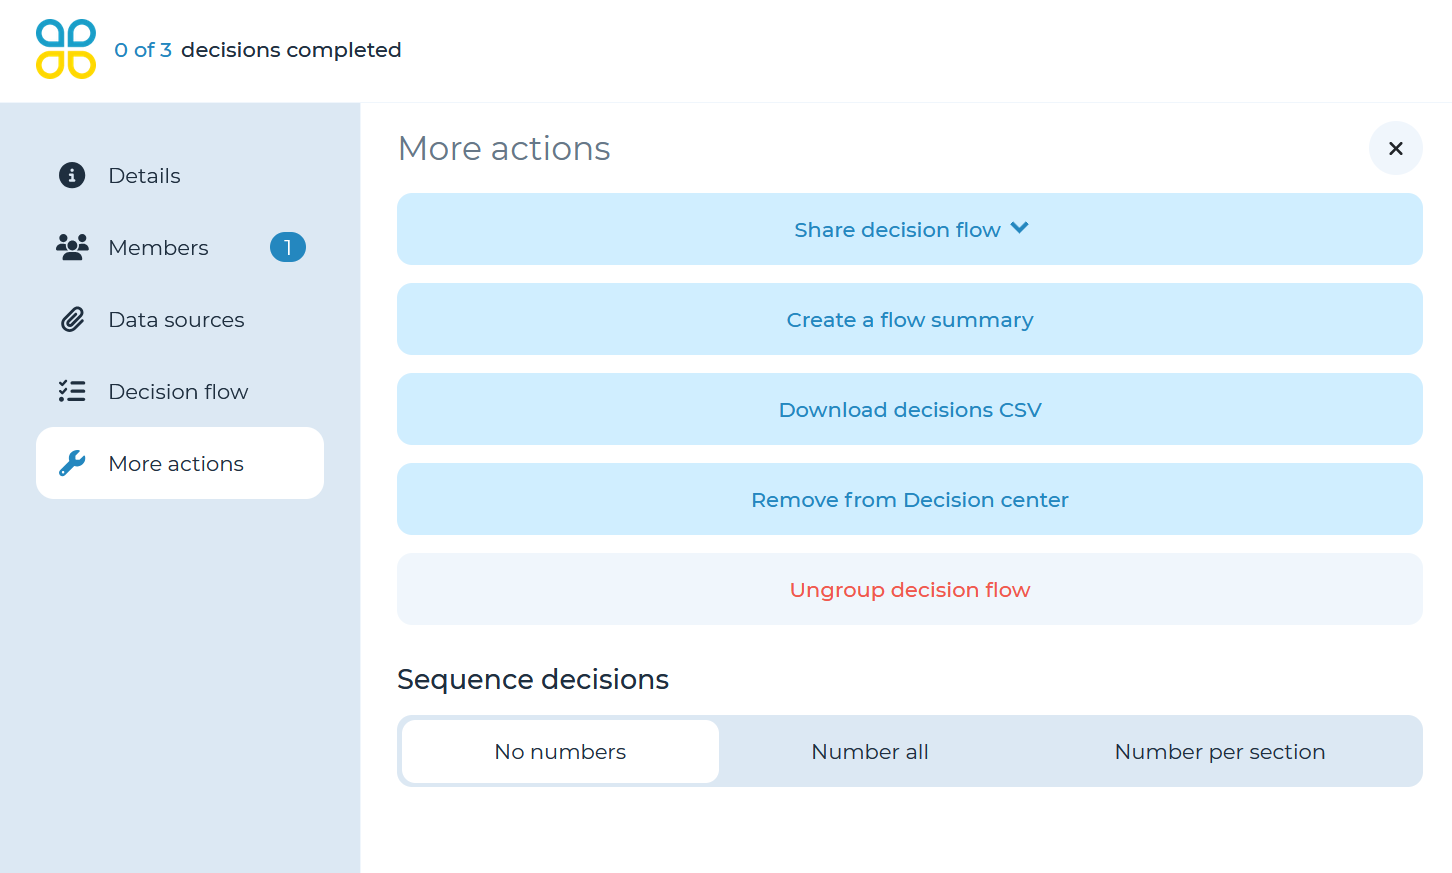
Click the ‘More actions’ button in the left menu, and select ‘Ungroup decision flow’. Click ‘Yes’ to ungroup the decision flow.
Note: this will separate each decision from the flow and result in unique decisions without the sections or inter-linkages.
Refer to the Decision sequence portion of the user manual to help organize your decision flow.