
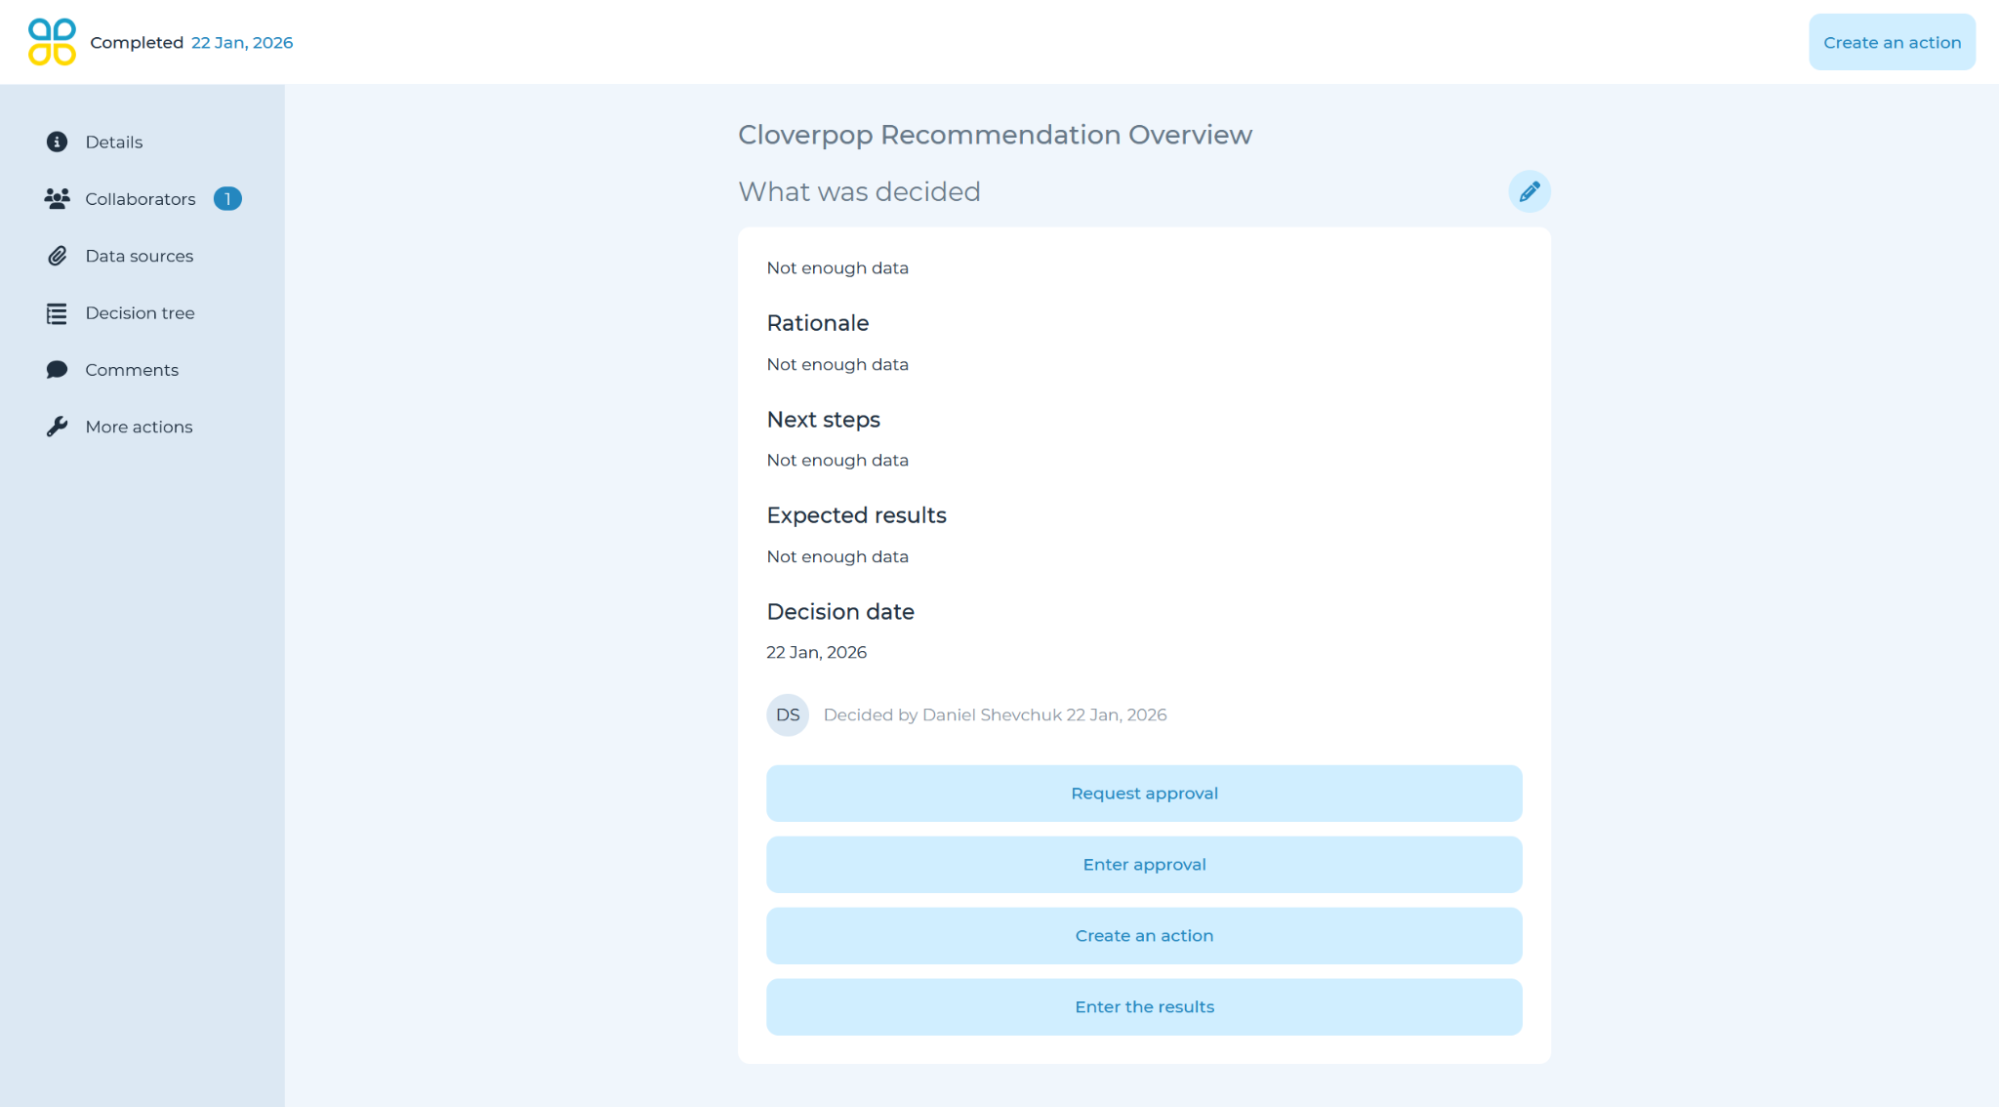
In order to edit your completed decision, you can select the ‘pencil’ button to open a panel to edit the following:
What was decided
Enter the final outcome of the decision process. Keep this around a 1-3 sentence summary.
Decided By
Enter the name of the person making the decision.
Rationale / Next Steps / Expected results, value or cost - Optional
Rationale is an optional field to provide documentation around the reasoning for a decision. You can also capture next steps, expected results, value or costs associated with the decision by clicking the arrow and selecting edit decision to select the desired fields.
Decision Date
Provide the date when a decision was made.
Decision Data Sources - Optional
Link shared documents or upload files that you would like saved with the decision.
Data sources
Add a link (e.g., to Google Drive or Sharepoint) or upload documents up to 100 MB in size within the ‘Data sources’ section of the decision flow. Once you have uploaded a decision flow Data Source it can be leveraged across all decisions within the flow by selecting it in the data source drop down.
Note: After they have been added to a decision flow, these data sources will be available to be added to any driver or decision within the decision flow.
Decision Tree - Optional
You can build a decision tree for your already completed decision by selecting the ‘Decision tree’ panel on the left side.
You can then build a tree of decision drivers and sub-drivers, as relevant. You may add, remove, group, or reorder drivers in the decision tree as desired. To provide an answer to a driver when entering a completed decision, click the driver and then the pencil button associated with it. Enter the response to the driver in the 'Summary' field and attach any relevant data sources.
For more information on building a decision tree, refer to the Edit decision tree section of the manual
Collaborators
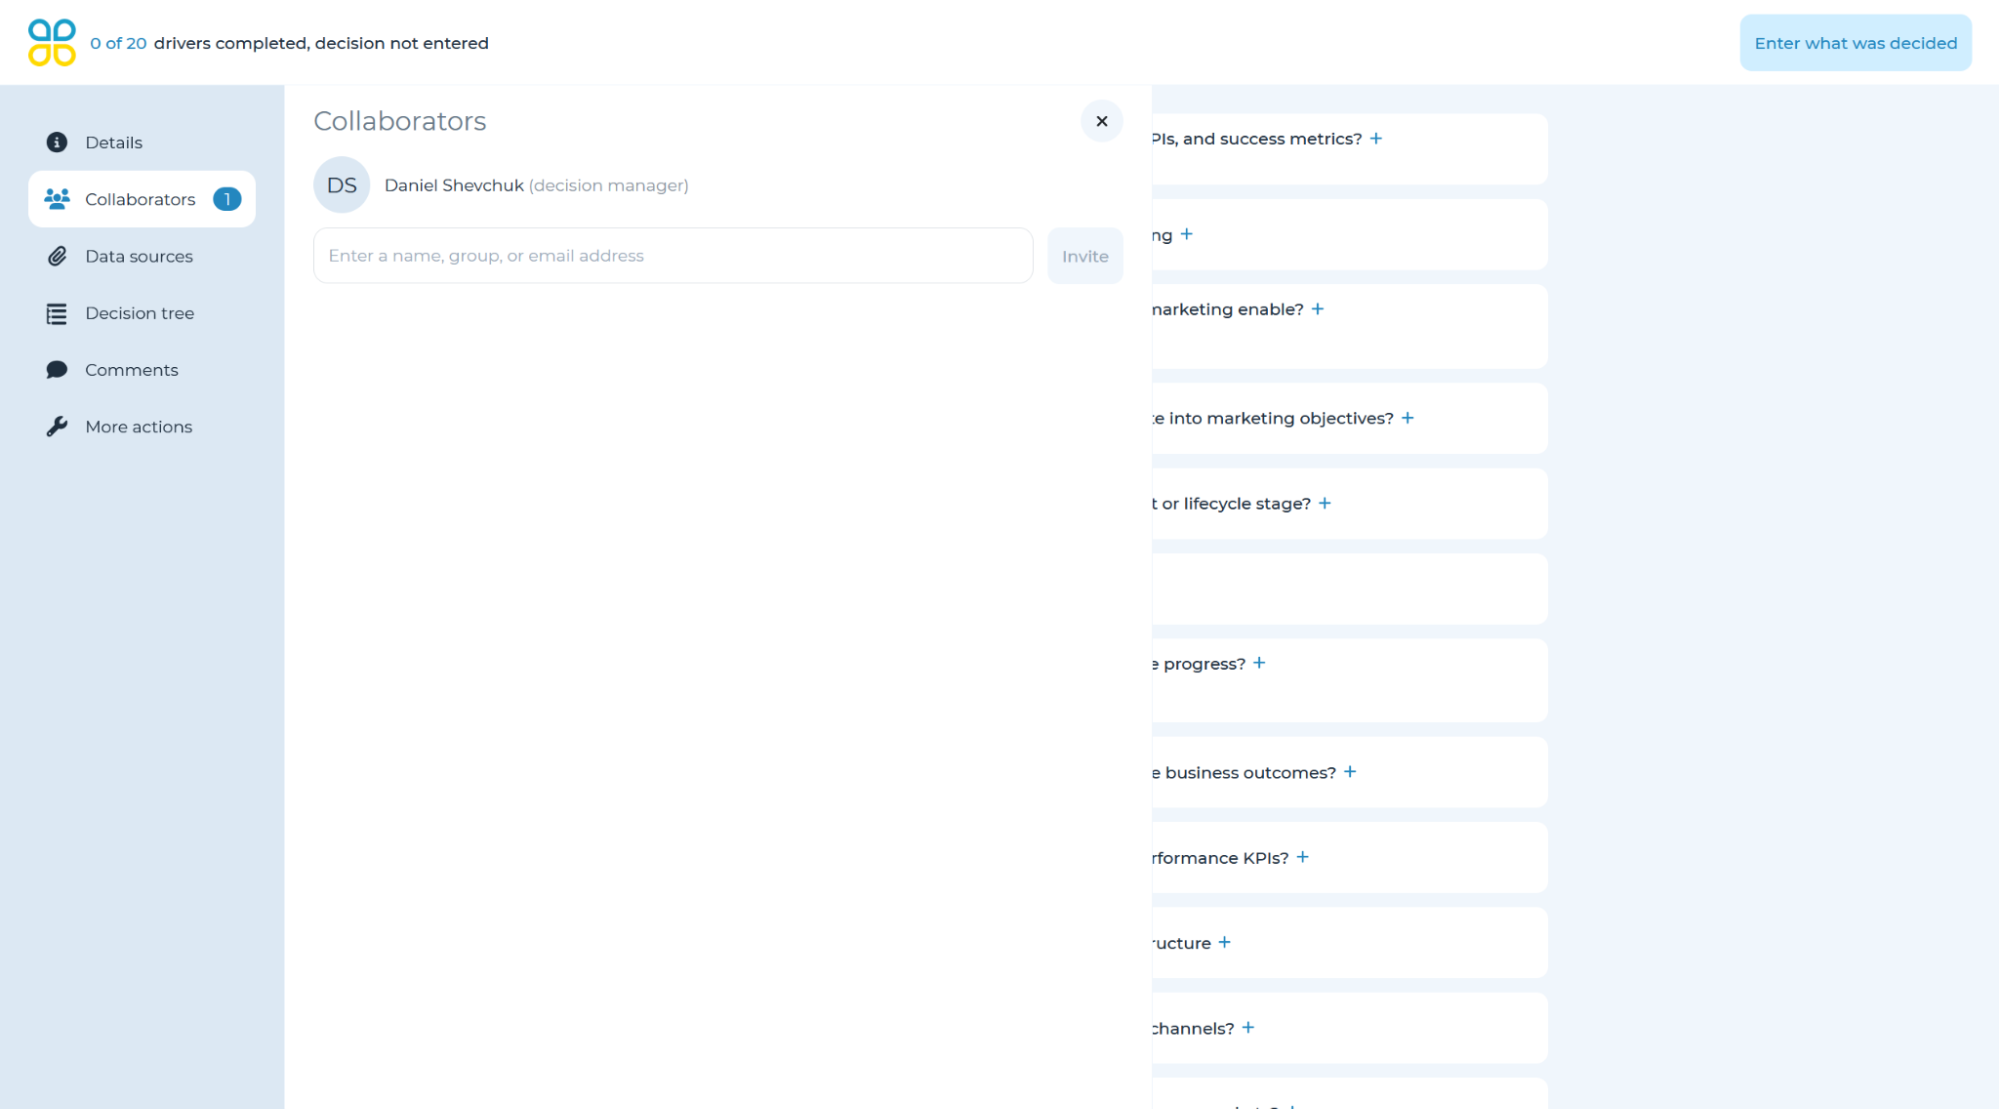
By selecting the ‘Collaborators’ tab in the left panel, enter the names or email addresses of team members who helped to make this decision. You will be able to choose from people in a dropdown list which includes everyone in your organization with a Cloverpop account. You can also add multiple people at once by selecting any pre-set group in the dropdown menu.
After you complete the setup process and launch the decision, it will appear in their decision center.
You will also be able to add collaborators after you exit the decision setup wizard by clicking on ‘Details’ within the decision. At this point, you will also be able to add ‘guests’ (people without a Cloverpop account) via their email address.
To create a new account on Cloverpop, please contact a system admin or your Cloverpop team, or email support at [email protected]