
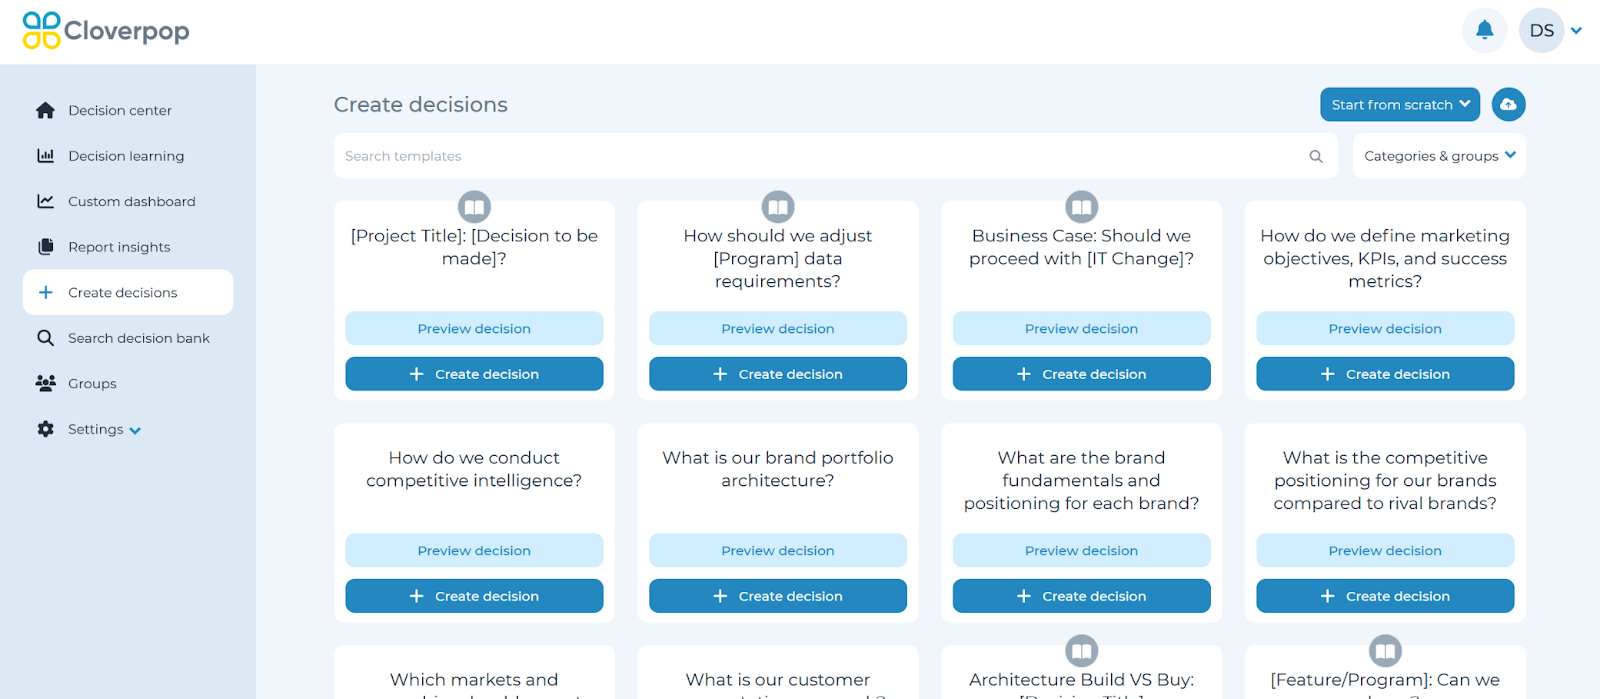
Recording a decision allows you to document any historical decisions that were completed outside of Cloverpop while skipping the collaborative workflow to complete drivers.
You can either choose to create a completed decision from a template or create a completed decision from scratch.
Templates simplify the process of creating a new decision / recommendation. They provide a standardized structure for common decisions made in Cloverpop for your organization.
To determine which template best fits your need, select ‘Preview decision’ to view the template structure. Once you have identified the template that best meets your needs, select ‘Create decision’ on the selected decision tile.
If your use case does not have a template, you can record a decision from scratch.
Record a decision from template
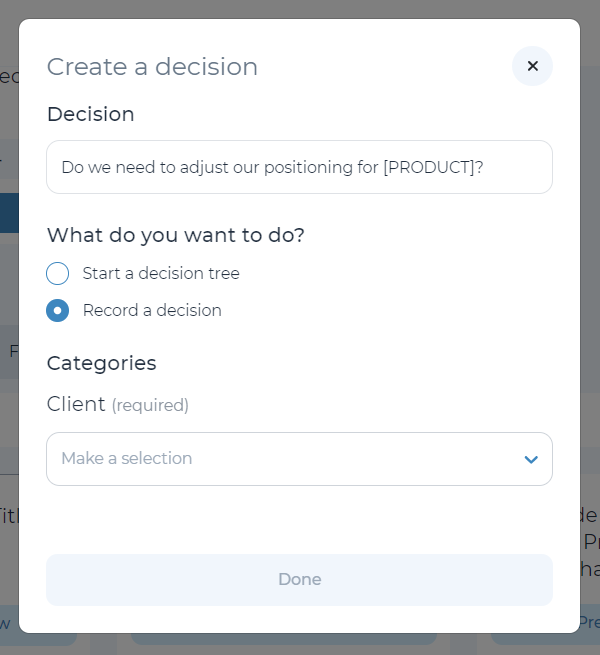
After selecting ‘+ Create Decision’ in the selected template, toggle the decision’s option to ‘Record a decision’. Also, you can adjust the title to reflect any specifics of your use-case.
Some templates may have default categories (e.g., functions, channel) to tag your completed decision. If there are no categories in this window, you can tag decision categories after you complete the set-up wizard.
Record a decision from scratch
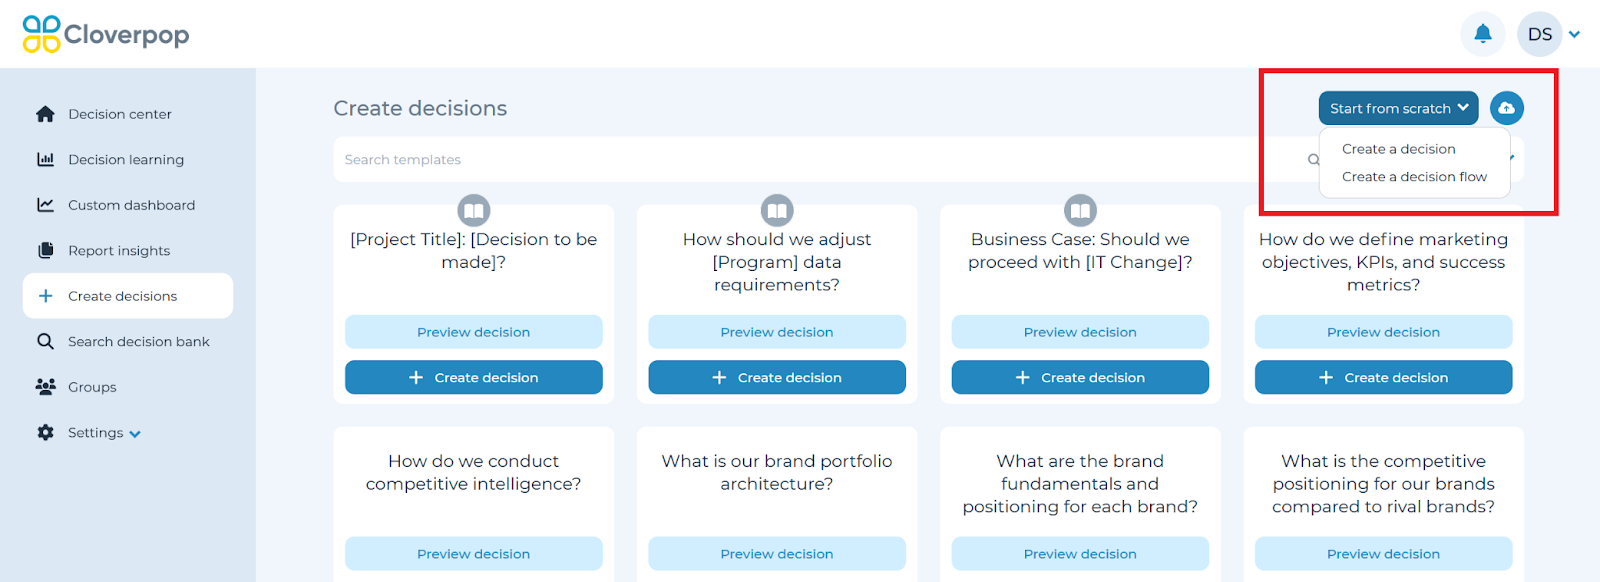
If your use case does not have a premade template, you can instead create a completed decision from scratch.
To create a completed decision from scratch, use select ‘Create a decision from scratch’ from the drop-down in the top left to begin. In the pop-up, enter an appropriate title and make sure to select ‘Record a decision’ to create an already completed decision.
If you are looking to start a completely new decision, refer to Create a new decision / recommendation.
NOTE: When completing a decision from scratch there are no default sharing settings, adjust your sharing settings under ‘More actions’ to ensure relevant team members have access to the record.
Import an external decision
If you already have a historical decision document from some other source, you can import it by using the cloud button next to the ‘Start from scratch’ drop-down:
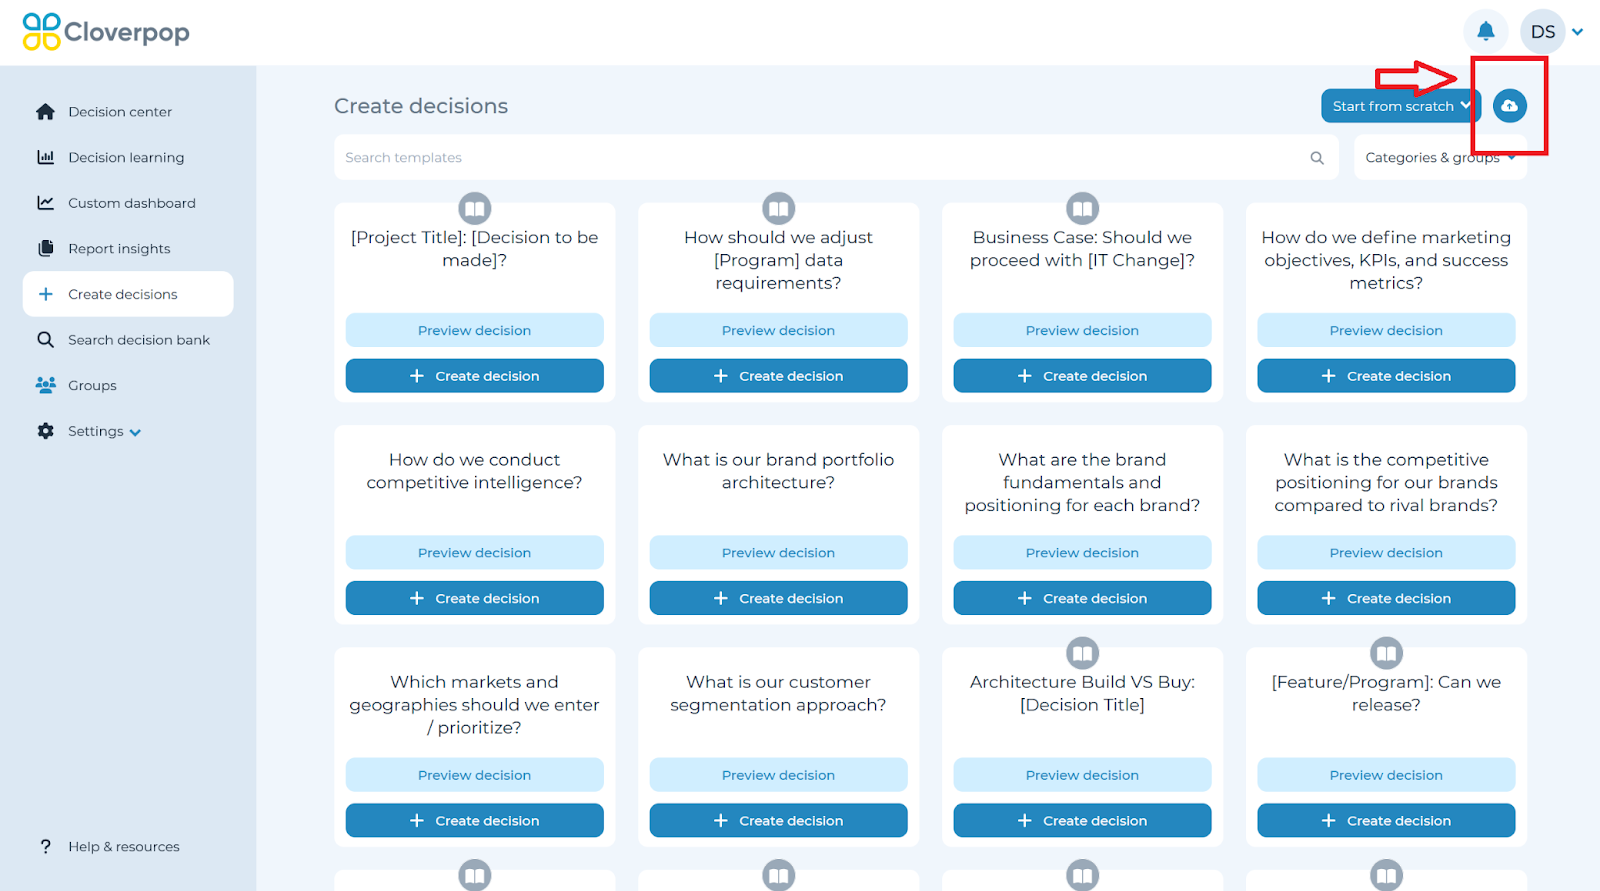
A pop-up window will appear prompting you to select a file from your computer to upload. Once this is completed, you will be able to input some basic information about your decision, as well as select whether this is a record of the final decision or a recommendation.
Once this information is provided, CloverpopAI will scan your decision document and provide a summary which includes: a title, context, result of the decision, rationale, other choices considered, next steps and expected results. You have the ability to modify the results however you see fit before finalizing your decision.
The uploaded decision document will be attached as a data source under the newly created recommendation panel within the decision.
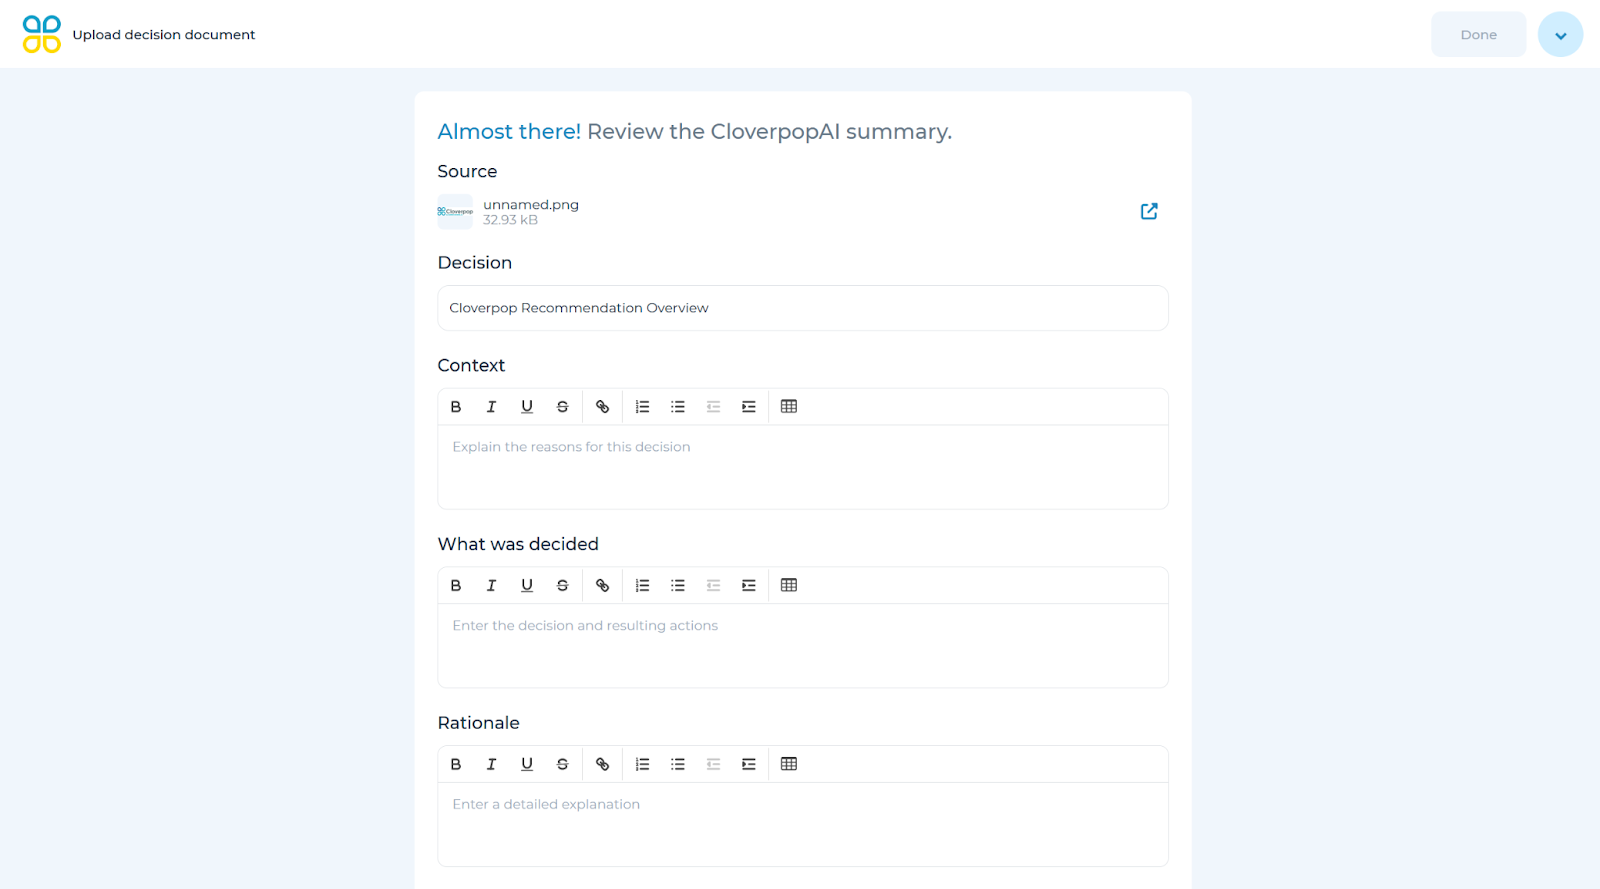
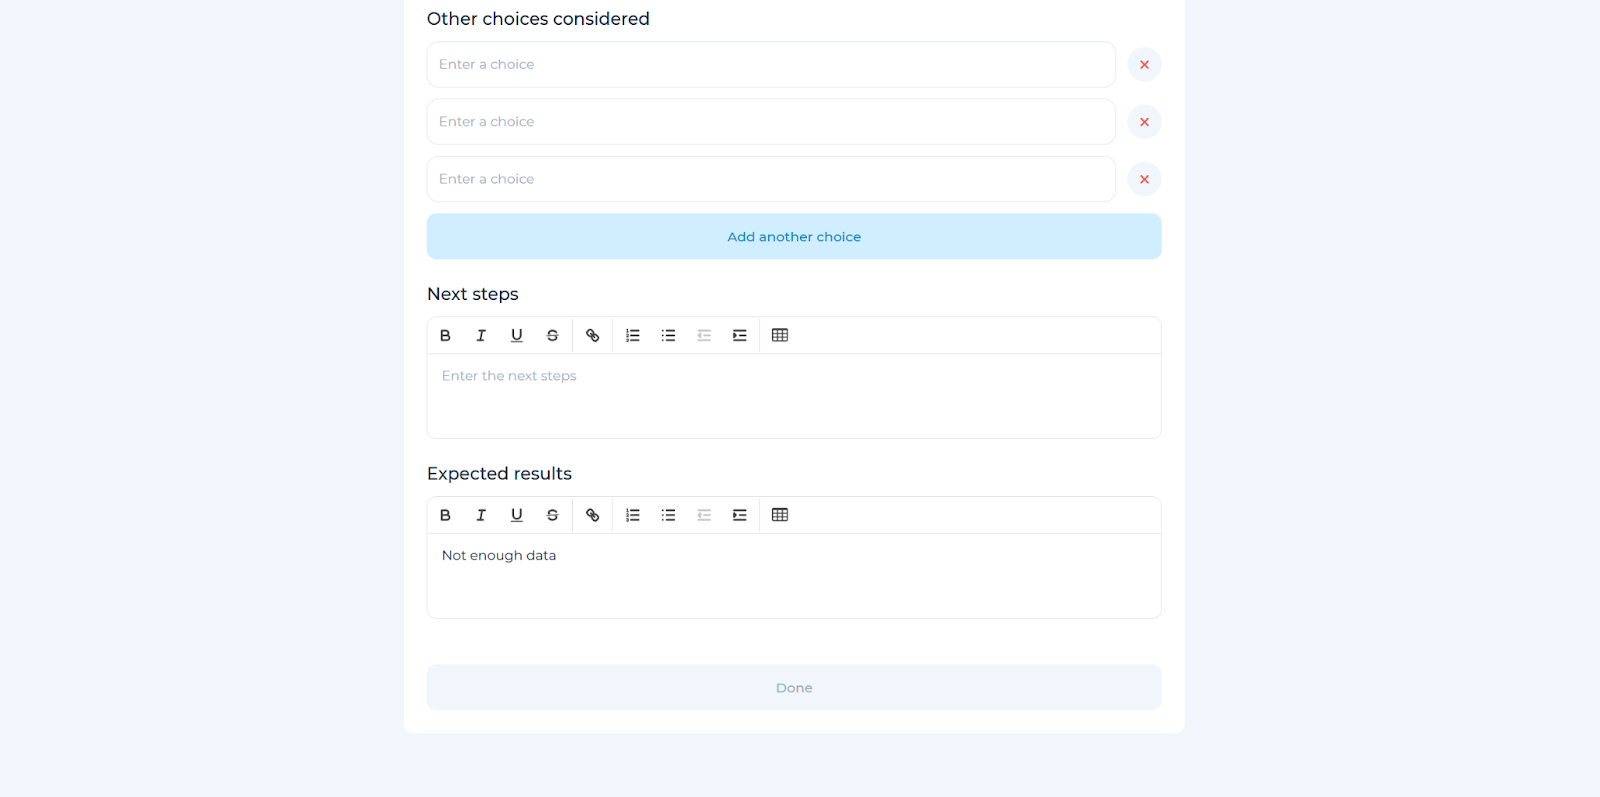
Finalize the setup process by clicking the ‘Done’ button in the top right, after which you have the ability to do anything you can with a usual decision made within the Cloverpop platform. For additional information, refer to the Edit decision tree and Edit decision details portions of the manual.
Once you have started a completed decision, please reference the guide for ‘What was decided’ to proceed.